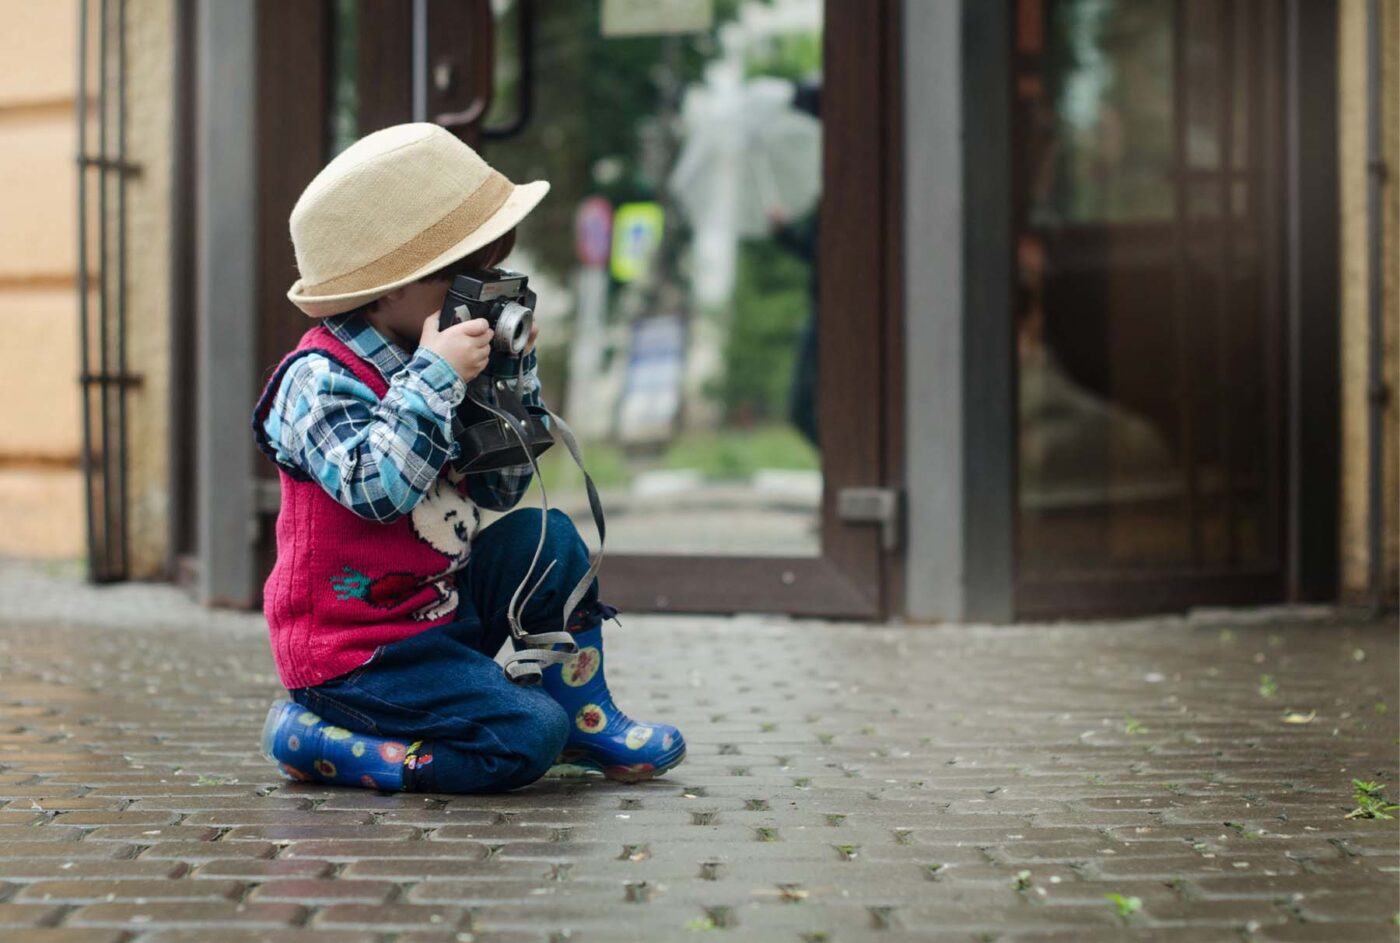
Photography is a wonderful way to spark creativity in children, allowing them to see the world through a different lens—literally! Engaging kids in DIY photography projects can be both educational and fun, teaching them the basics of photography while nurturing their artistic talents. Here are some exciting and easy-to-follow photography projects that will captivate your child’s imagination, from making pinhole cameras to creating stunning photo collages.
Photography Project: Creating a Modelling Portfolio for Kids
Materials Needed:
- A camera (DSLR, mirrorless, or a good smartphone)
- Different outfits for various looks
- Simple props (hats, scarves, toys)
- Natural light or basic lighting setup
- A plain background (white wall, fabric backdrop)
Steps:
- Concept Planning: Discuss with your child the theme of the photoshoot. Decide on the outfits and props that reflect their personality and style.
- Location Setup: Choose a location with good lighting. It can be indoors with natural light from a window or outdoors in a park.
- Wardrobe Selection: Prepare a few outfits that your child feels comfortable and confident wearing. Include casual, formal, and themed attire.
- Posing Practice: Teach your child some basic modelling poses. Practice together to make them feel at ease in front of the camera.
- Photoshoot: Begin the photoshoot, capturing various angles and expressions. Encourage your child to have fun and be themselves.
- Review and Select: After the photoshoot, review the photos together. Select the best shots that showcase your child’s versatility and charm.
- Create the Portfolio: Arrange the selected photos into a portfolio. You can use a physical photo album or create a digital portfolio.
- Professional Touch: Consider booking a professional portfolio shoot with POP Photography to add high-quality images to your child’s portfolio. Our expert photographers will ensure your child looks their best and captures their unique personality.
Outcome:
This project will help your child gain confidence, learn the basics of modelling, and have a professional portfolio that can be used for future modelling opportunities.
Pinhole Camera Photography Project
What You Need:
- A small cardboard box with a lid (such as a shoebox)
- Black paint or black construction paper
- Aluminium foil
- A pin
- Photographic paper
- Tape
- Scissors

Instructions:
- Prepare the Box: Paint the inside of the box black or line it with black construction paper to prevent any light from reflecting inside.
- Create the Pinhole: Cut a small square in the centre of one end of the box. Cover the hole with a piece of aluminium foil and tape it securely. Use a pin to poke a tiny hole in the centre of the foil.
- Add the Photographic Paper: In a dark room, tape a piece of photographic paper on the opposite end of the box, facing the pinhole.
- Seal the Box: Put the lid on the box and tape any openings to ensure no light can enter except through the pinhole.
- Take a Picture: Point the pinhole at your subject and leave it exposed for a few seconds to a few minutes, depending on the lighting conditions. Then, return to the dark room to develop the photographic paper.
Learning Outcome: This project teaches children the basics of how cameras work, particularly the concept of light exposure and the process of capturing images without digital technology.

Creating a Sunprint
What You Need:
- Sunprint paper
- A clear acrylic sheet
- Objects with interesting shapes (leaves, keys, feathers, etc.)
- A basin of water
Instructions:
- Arrange Your Objects: Place the objects on the sunprint paper. Arrange them in a pattern or design that you find interesting.
- Expose to Sunlight: Cover the paper with the acrylic sheet to hold the objects in place. Place the paper in direct sunlight for 2-5 minutes. Watch as the paper changes colour.
- Rinse and Develop: After exposure, rinse the paper in a basin of water for about a minute. The areas covered by objects will remain white, while the rest of the paper will turn a deep blue.
- Dry and Display: Let the paper dry completely. You now have a beautiful sunprint to display.
Learning Outcome: Sunprints demonstrate the principles of light exposure and developing images, similar to traditional photographic processes, while also encouraging artistic expression.
Photo Scavenger Hunt
What You Need:
- A digital camera or smartphone
- A list of items or themes to photograph (nature, shapes, colours, patterns, etc.)
Instructions:
- Create a List: Make a list of items or themes for your child to find and photograph. Tailor the list to suit your child’s age and interests.
- Start Hunting: Set a time limit and let your child explore, taking photos of the items on the list.
Review and Discuss: Once the time is up, review the photos together. Discuss what they found, how they framed their shots, and any challenges they encountered.
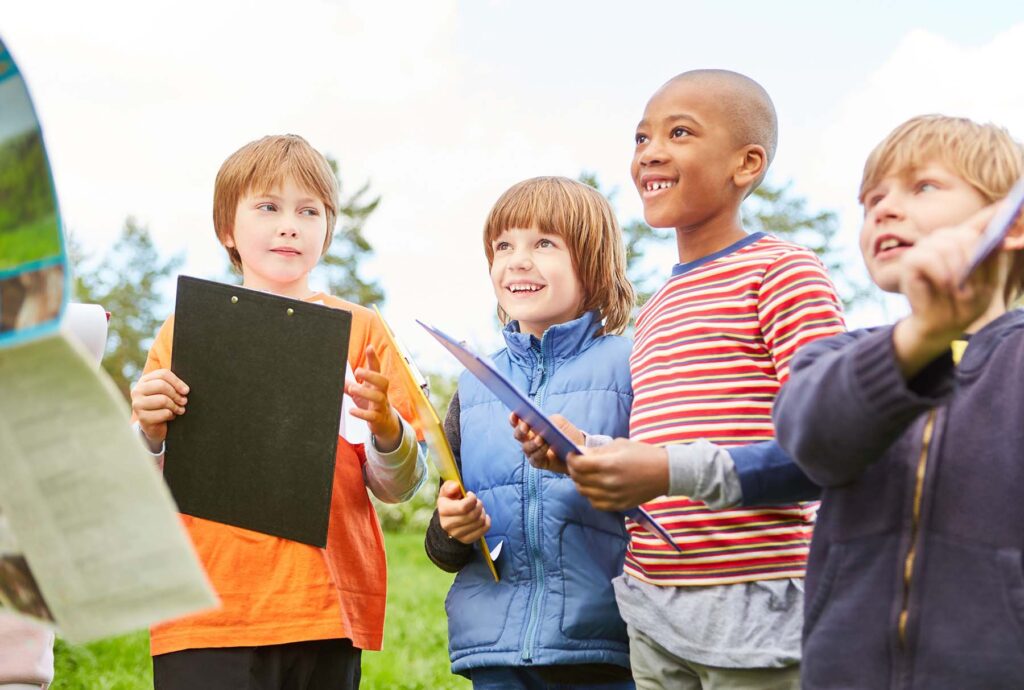
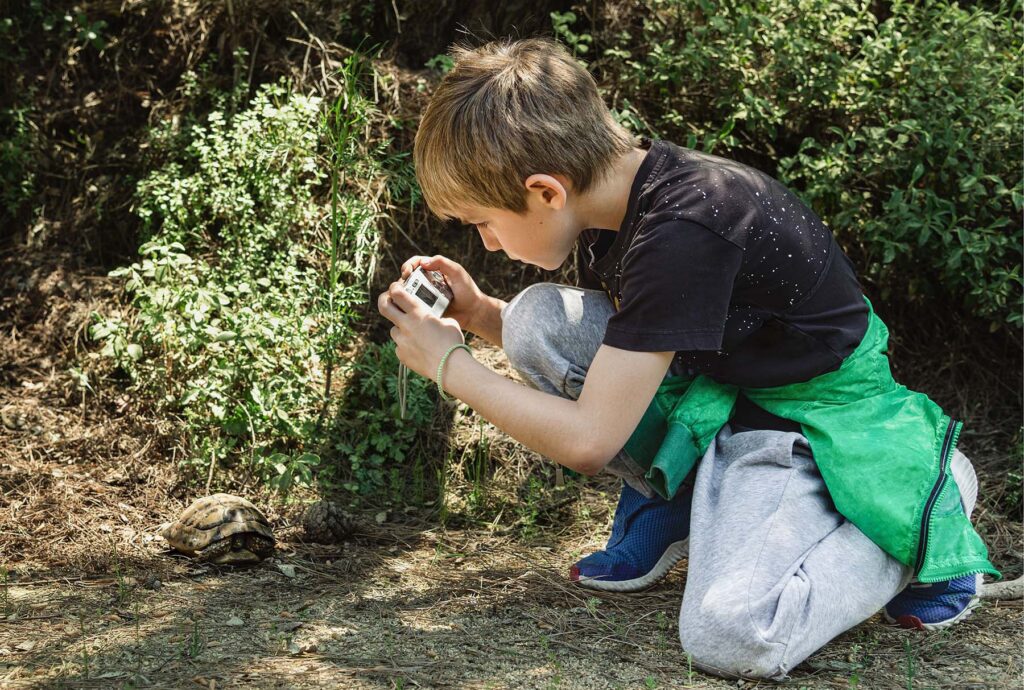
Learning Outcome: This activity encourages observation skills, creativity, and critical thinking. It also provides an opportunity to discuss photographic techniques such as framing, focus, and perspective.
Creating a Photo Collage
What You Need:
- Printed photos
- A large piece of cardboard or poster board
- Glue or tape
- Scissors
- Markers and stickers (optional)
Instructions:
- Print Photos: Print out a selection of your child’s favourite photos. These could be from previous photography projects, family outings, or anything they enjoy.
- Plan the Layout: Help your child plan the layout of their collage. Encourage them to think about how the photos relate to each other and how they want to tell a story with their collage.
- Assemble the Collage: Cut and arrange the photos on the cardboard or poster board. Once they’re happy with the layout, glue or tape the photos in place.
- Add Decorations: Use markers, stickers, and other decorations to personalise the collage further.
Learning Outcome: This project fosters creativity and storytelling. It also helps children develop their fine motor skills and spatial awareness.
Nature Photography Walk
What You Need:
- A digital camera or smartphone
- A notepad and pencil (optional)
Instructions:
- Choose a Location: Select a local park, garden, or nature reserve for your walk.
- Explore and Photograph: Encourage your child to explore and take photos of anything that catches their eye—plants, insects, landscapes, etc.
- Document Observations: If they like, they can use the notepad to jot down interesting things they notice about their subjects.
- Review and Edit: Once home, review the photos together. Discuss what they found interesting and any new things they learned. They can also edit the photos to enhance their creativity.
Learning Outcome: This activity promotes exploration and appreciation of nature. It also teaches children about composition, lighting, and the importance of observation in photography.
Conclusion
Engaging in DIY photography projects is a fantastic way to nurture your child’s creativity, enhance their observational skills, and introduce them to the fascinating world of photography. These projects are not only educational but also provide fun and meaningful ways for you and your child to spend time together. At POP Photography, we believe in the power of creativity and the joy of capturing beautiful moments. Book a professional portfolio shoot with us to further elevate your child’s confidence and artistic skills!

